App Help
10
Module 1: Getting Set Up
Welcome to the Platform
Nothing. This is your starting point. Just log in or follow along.
Read guide
20
Module 1: Getting Set Up
Setting Up Your Account
Before you add any properties, take a few minutes to configure your account. This makes the rest of your experience smoother and ensures you do not miss important alerts.
Read guide
30
Module 1: Getting Set Up
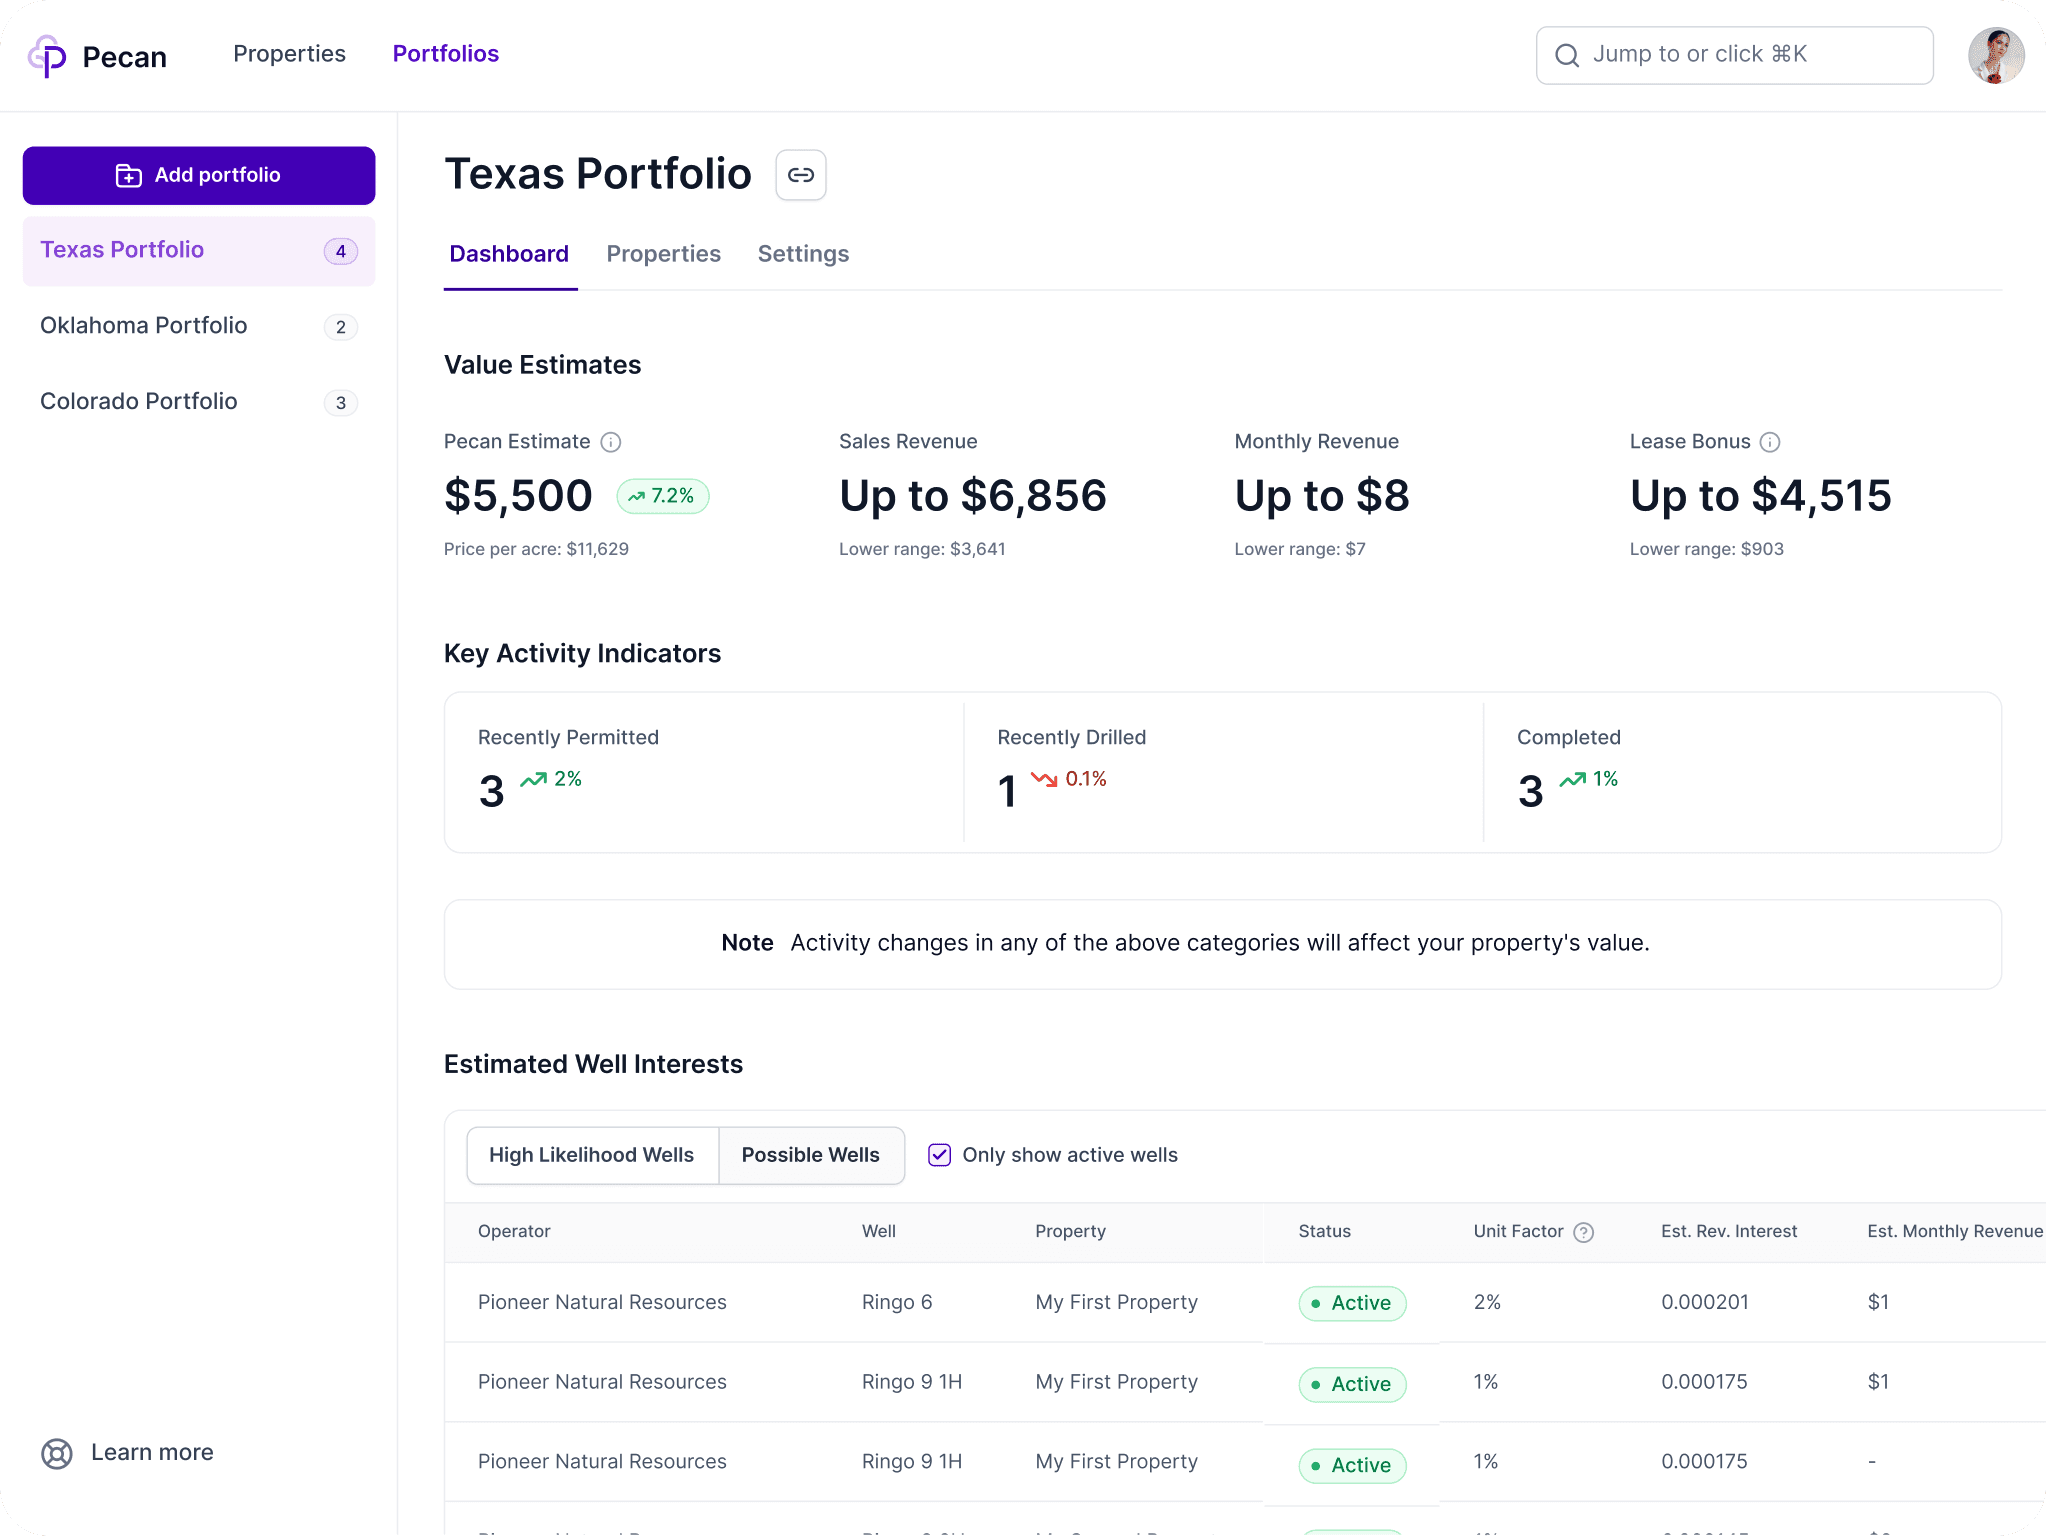
Your Dashboard
Your dashboard is the command center for your mineral portfolio. When you first log in, most sections will be empty , the platform is waiting for you to add your properties. Onc…
Read guide
35
Module 1: Getting Set Up
A Tour of the Map
The map is where you will do most of your setup work , finding your property, drawing your tract boundaries, and looking up information on specific wells. It is also one of the…
Read guide
40
Module 2: Building Your Portfolio
Defining What You Own
Nothing , this is an orientation video. Have a sense of what documents you have on hand (deed, revenue statements, well list, etc.) and you will know which path to take.
Read guide
42
Module 2: Building Your Portfolio
Draw from Map
The county where your minerals are located. A deed or legal description is helpful for accuracy, but you can also work from memory if you know your property's approximate location.
Read guide
44
Module 2: Building Your Portfolio
Upload a Revenue Statement
A revenue statement or check stub from your operator, saved as a PDF. Most standard operator revenue statement formats are supported.
Read guide
46
Module 2: Building Your Portfolio
Upload a Well List
A list of API14 well numbers (the 14-digit identifiers for the wells you own interests in), saved in an Excel file. A downloadable template is available in the platform.
Read guide
48
Module 2: Building Your Portfolio
Upload a Shapefile
A shapefile package saved as a .zip file, containing at minimum the .shp, .dbf, and .shx components. This method is typically used by mineral owners with existing GIS data prepared by a land company.
Read guide
50
Module 2: Building Your Portfolio
Review Your Tracts
You have completed one of the four tract creation methods (Draw from Map, Upload Revenue Statement, Upload Well List, or Upload Shapefile) and are now in the guided workflow.
Read guide
55
Module 2: Building Your Portfolio
Well Overwrites
Your division orders, if you have them. These are the documents your operator sent when each well first went into production , they state your exact decimal interest for that well. Division orders are helpful but not required to complete this step.
Read guide
60
Module 2: Building Your Portfolio
Run KPIs and Read Your Results
You have completed Steps 1 through 5 of the Create a Tract workflow. Your tract boundary is set, your wells have been reviewed, and any overwrites have been entered.
Read guide
70
Module 3: Reading Your Results
Understanding Your Pecan Estimate
Your tract is fully set up and KPIs have been run. You should be able to see a Pecan Estimate on your tract or dashboard.
Read guide
80
Module 3: Reading Your Results
Pecan Insights
Your tract is set up and KPIs have been run. Pecan Insights is available from the tract or portfolio view.
Read guide
90
Module 3: Reading Your Results
Verifying Your Revenue
A recent revenue statement or check stub from your operator. Your tract should be set up in the platform with producing wells assigned.
Read guide
100
Module 4: Staying Current
Alerts and Well Activity
Your tract is set up in the platform. Notifications can be configured from your account settings.
Read guide
110
Module 4: Staying Current
Generating Reports
Your tract is fully set up and KPIs have been run. Reports are generated from the tract or portfolio view.
Read guide